Marble Paper Chemistry
Float paint on water to create swirling marble patterns and discover the science of surface tension!
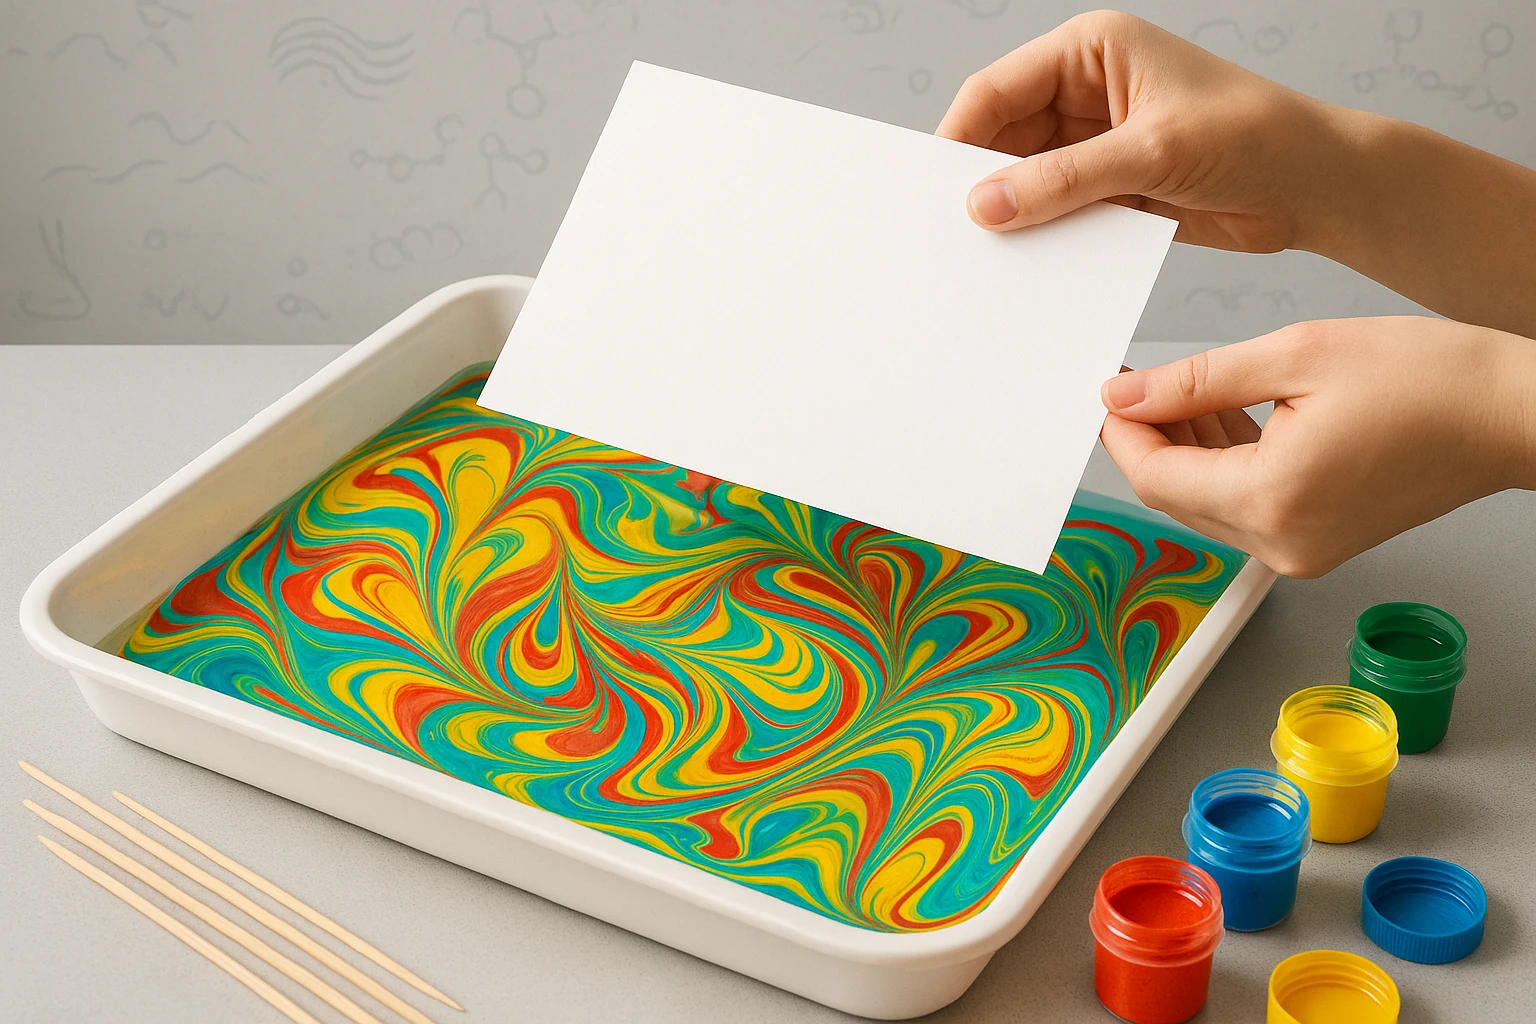
A large shallow pan filled with water showing colorful swirled paint patterns floating on the surface, with a piece of paper being carefully lowered to capture the marble design, demonstrating the paper marbling technique
EXPERIMENT PHOTO BY Duskbloom Littles
Create stunning swirled artwork while discovering the amazing science of surface tension and fluid dynamics! This beautiful marbling technique has been used by artists for over 1000 years, but the science behind it involves how different liquids interact with each other. You'll float paint on water, create swirling patterns, and capture them on paper to make one-of-a-kind masterpieces!
The magic of paper marbling happens because of surface tension - the invisible "skin" on top of water that's strong enough to support lightweight objects. When you drop paint onto water, it floats because paint is less dense than water and surface tension holds it up. As you swirl the floating paint, you're creating fluid dynamics patterns that follow the same mathematical rules that govern ocean currents and weather systems!
Parent Supervision Note: This experiment benefits from adult guidance for setup and cleanup management.
EXPERIMENT STEPS
What You'll Need:
- Large shallow pan or tray (bigger than your paper)
- Room temperature water
- Acrylic paints or food coloring
- Liquid dish soap (just a drop)
- Paper (cardstock works better than thin paper)
- Toothpicks or wooden skewers for swirling
- Newspaper to protect work surface
- Paper towels for cleanup
Step-by-Step Instructions:
- Fill pan with water - Add about 1-2 inches of room temperature water
- Drop paint carefully - Add 3-4 colors by dropping paint gently onto water surface
- Watch paint spread - Paint should float and spread in circles on water
- Create patterns - Use toothpick to gently swirl colors together
- Prepare paper - Hold paper by opposite corners
- Capture design - Lower paper gently onto water surface, then lift straight up
- Let dry completely - Place marble print on flat surface to dry
- Experiment with patterns - Try different swirling techniques and color combinations
Paper marbling demonstrates surface tension, density differences, and fluid dynamics - the same scientific principles that explain how oil spills spread on water, how insects walk on water, and how ocean currents create weather patterns!