Weather Station Creation
Build your own weather monitoring station and become a meteorologist tracking nature's patterns!
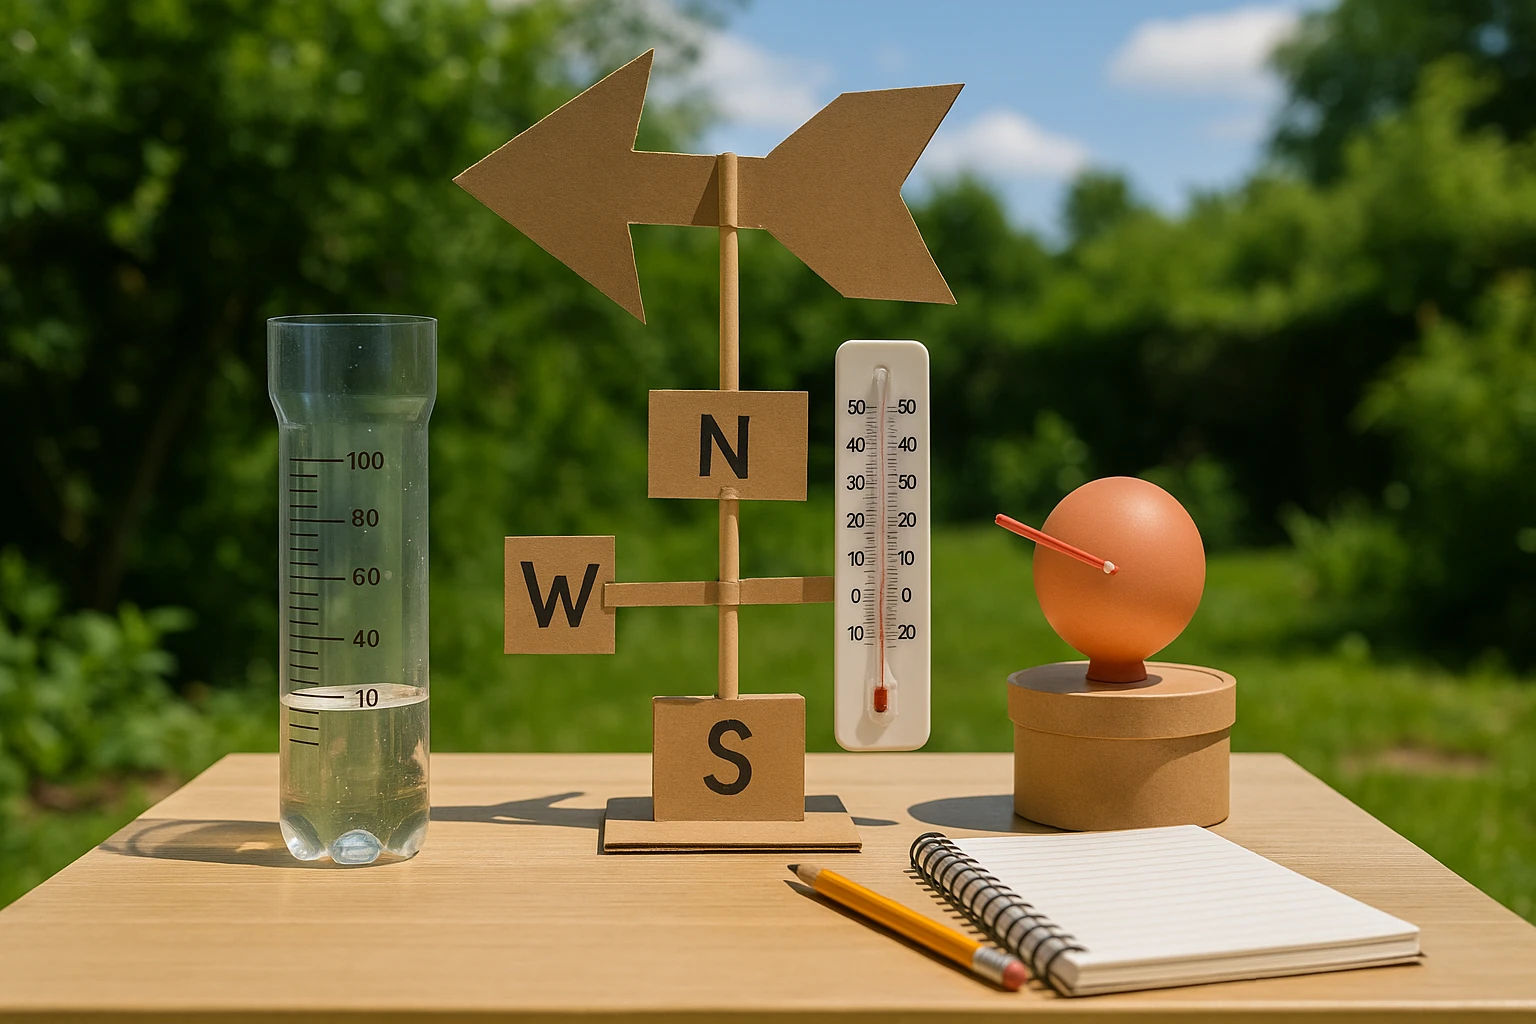
A homemade weather station setup showing multiple weather instruments - a rain gauge made from a clear bottle, wind vane with directional markers, thermometer, and barometer, all arranged on a small table outdoors
EXPERIMENT PHOTO BY Duskbloom Littles
Become a real meteorologist and build your own weather station to track nature's daily changes! This exciting experiment teaches you to measure temperature, rainfall, wind direction, and air pressure just like professional weather scientists. You'll discover how these measurements help predict weather patterns and understand the amazing forces that create our daily weather!
Weather happens because of the interactions between air pressure, temperature, and moisture in our atmosphere. By measuring these factors daily with your homemade instruments, you'll start to see patterns that help predict what tomorrow's weather might bring. Real meteorologists use the same principles, just with more advanced equipment, to forecast weather for entire countries!
Parent Supervision Note: This experiment requires adult assistance with construction and placement of weather instruments.
EXPERIMENT STEPS
What You'll Need:
- Clear plastic bottle (for rain gauge)
- Outdoor thermometer
- Cardboard and pushpin (for wind vane)
- Small straw and clay
- Compass for direction
- Weather tracking journal
- Ruler with millimeter markings
- Plastic container (for barometer)
- Balloon and rubber band
Step-by-Step Instructions:
- Create rain gauge - Cut plastic bottle and invert top to funnel rain into bottom
- Build wind vane - Cut arrow shape from cardboard, balance on pushpin
- Make simple barometer - Stretch balloon over container opening, tape straw pointer
- Set up station - Place all instruments in open area protected from direct rain
- Take baseline readings - Record starting measurements for comparison
- Collect daily data - Same time each day, measure and record all instruments
- Track patterns - After one week, look for relationships between measurements
- Make predictions - Use your data to guess tomorrow's weather
The weather station demonstrates atmospheric science, data collection, and pattern recognition - the same scientific methods used by professional meteorologists to understand climate and predict weather changes!