Paper Airplane Physics
Design and test different paper airplanes to discover the science of flight and aerodynamics!
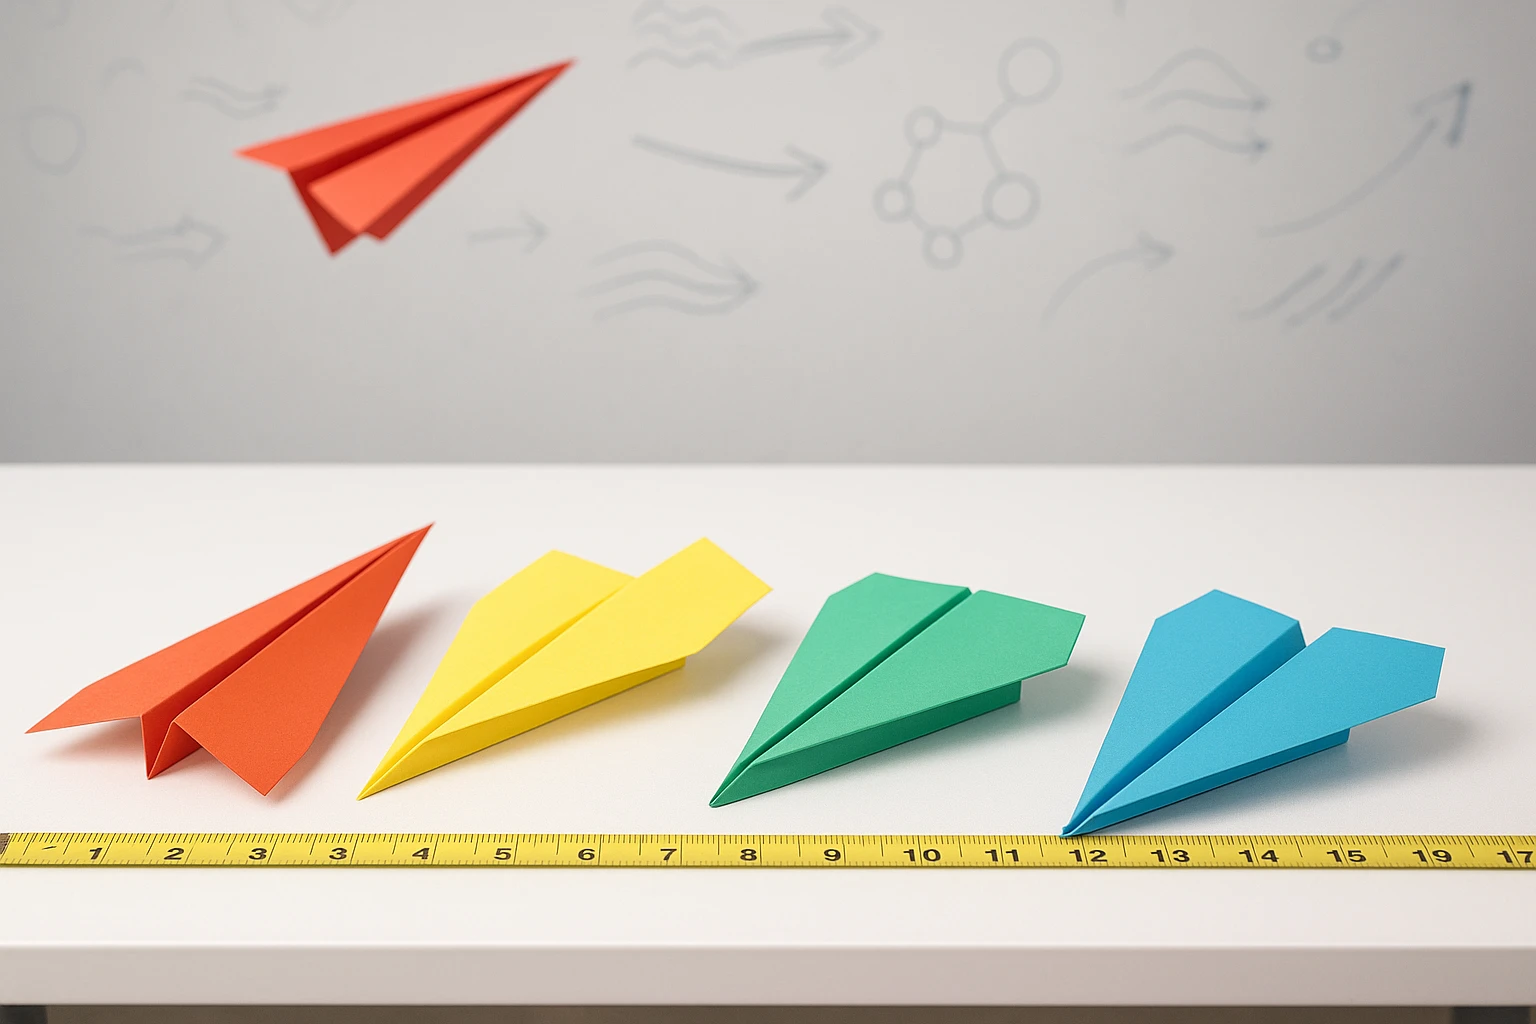
Multiple paper airplane designs in different colors arranged on a table with a measuring tape, showing various wing shapes and sizes, with one airplane captured mid-flight demonstrating different flight patterns
EXPERIMENT PHOTO BY Duskbloom Littles
Become an aeronautical engineer and discover the amazing science behind flight! Building and testing different paper airplane designs teaches you the same principles that engineers use to design real aircraft. You'll explore how lift, thrust, drag, and weight work together to keep airplanes soaring through the sky!
Every paper airplane is a flying experiment that demonstrates the four forces of flight. When you throw your plane, you provide thrust (forward motion). The wings create lift by making air move faster over the top than underneath. Drag (air resistance) tries to slow it down, while weight (gravity) pulls it toward the ground. The best airplanes balance all four forces perfectly!
Parent Supervision Note: This experiment benefits from adult guidance in measuring, recording data, and understanding flight principles.
EXPERIMENT STEPS
What You'll Need:
- 10 sheets of standard copy paper (8.5" x 11")
- Ruler or measuring tape
- Stopwatch (optional)
- Colored pencils or markers for decoration
- Notebook for recording results
- Open space for testing (hallway, gym, or outdoor area)
- Paper clips (for weight experiments)
Step-by-Step Instructions:
- Design 3 different airplane styles - basic dart, wide-wing glider, and stubby fighter
- Fold each design carefully - precise folds make better flights
- Test each plane 5 times from the same starting point
- Measure flight distances and record results in your notebook
- Observe flight patterns - does it glide smoothly or tumble?
- Modify designs by adjusting wing angles or adding paper clips for weight
- Retest modified planes and compare to original results
- Determine your champion design based on distance and flight quality
Paper airplane testing demonstrates aerodynamic principles, data collection, and engineering design - the same concepts used in aerospace engineering, wind tunnel testing, and aircraft development!